Car Boot Gold: Building a Hand-Tool Kit for Under £100
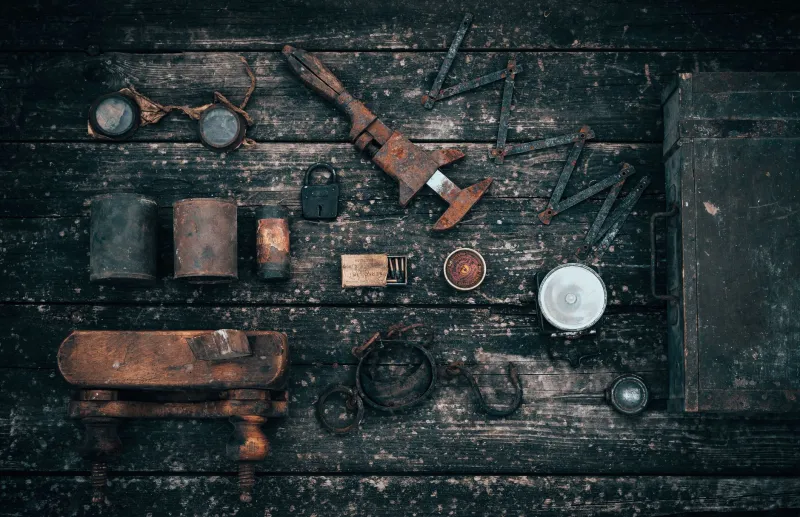
There is a particular kind of Saturday morning magic in a muddy field full of pasting tables. You arrive with a flask, a fiver in coins and no real plan, and you leave with a No. 4 plane that looks like it was buried during the reign of Victoria. For a new woodworker, that rusty lump can be the start of a proper tool kit — not a collector's cabinet, but a working set that will mark, saw, pare and plane.
In 2026, a hundred pounds is still a realistic budget if you shop second-hand and accept that elbow grease is part of the purchase price. The aim is not to buy everything at once. It is to build a small, dependable kit over a few weekends, then spend a few evenings cleaning, sharpening and learning how each tool behaves.
Start With a Plan, Not a Wish List
A beginner's kit needs to do four jobs: measure and mark, cut straight, remove waste and create a surface. That means a bench plane, a saw, a few chisels, a square, a marking gauge, a mallet, a sharpening stone and something to drill with. Everything else is a bonus.
Write that list on your phone and stick to it. Car boot sales are designed to distract you. A beautiful old drawknife is lovely, but it will not help you build a bench hook. A box of mystery chisels with three missing handles is not a bargain; it is a future drawer of shame.
The Realistic £100 Shopping List
Prices vary wildly by region and by how early you arrive, but here is a sensible target list for a UK car boot or local marketplace:
- No. 4 or No. 5 bench plane: £15–£25
- Tenon saw or fine crosscut saw: £5–£10
- Three or four bevel-edge chisels: £10–£15
- Combination square: £3–£6
- Marking gauge: £3–£5
- Wooden or rubber mallet: £3–£6, or make one later
- Sharpening stone or diamond plate: £5–£12
- Hand drill: £8–£12
- Screwdriver set: £4–£8
- Card scraper: £2–£5
That totals roughly £60–£95, leaving a little for wet-and-dry paper, wire wool, light oil and a cheap fine-tooth file. You do not need a brand-new premium sharpening system. A second-hand oilstone and a bit of patience will get you cutting.
What to Pick Up and What to Leave Behind
Rust is normal. Deep pitting on the sole of a plane is not. Surface rust will clean up; a sole that looks like the surface of the moon will never sit flat without serious work. Check that the plane has its iron, cap iron and lever cap. Missing parts can be sourced, but not usually for less than the tool is worth.
For saws, look for a straight blade and intact teeth. A dull saw can be sharpened; a kinked or badly rusted saw is a wall ornament. Chisels should have decent length left in the blade and handles that are not split through. A little wobble in a wooden handle can be fixed with glue and a new ferrule, but a chisel that has been ground back to a stub is finished.
Walk away from anything with cracks in cast iron, missing adjustment screws or that special kind of seller who says it worked perfectly before it was put away in 1987. Also be wary of modern bargain-bin chisels with soft steel. A tired old Marples will usually outperform a shiny no-name set from a discount bin.
Cleaning, Derusting and Sharpening Without a Fancy Bench
You do not need a workshop full of machinery to bring a tool back. A sheet of wet-and-dry paper on a flat tile, a wire brush, some light oil and a little white vinegar will handle most surface rust. Keep vinegar away from good cutting edges for long periods, and dry everything thoroughly afterwards. British sheds are damp, and rust never really sleeps.
For a plane, take it apart, brush off the loose stuff, flatten the back of the iron and sharpen the bevel. A simple honing guide helps, but many people learn freehand on a wide stone. Flatten the sole only if it is genuinely out — a sheet of wet-and-dry on plate glass is the old-school method — and do not turn a usable plane into a restoration project you never finish.
Saws can be cleaned with a brass brush and a light wipe of oil. If the teeth are dull, a local saw doctor may sharpen it for a reasonable fee, or you can learn to file it yourself. Chisels need a flat back and a consistent bevel. Ten minutes on a stone each evening will teach you more than an hour of YouTube.
A Few UK Sources and Habits
Car boot sales are still the best value, especially the early-morning trade stalls and the house-clearance tables. Charity shops occasionally turn up tools, though you may have to ask behind the counter. Facebook Marketplace and Gumtree are good for job lots, but ask for close-up photos and be prepared to walk if the description is generous. Local auctions and Freecycle can be goldmines if you are patient.
Take cash, a sturdy bag and a magnet if you are unsure about pot metal. Ask politely whether you can test the action of a plane or the movement of a vice. Most sellers are happy to chat, and a friendly conversation often knocks a pound or two off the price.
The First Project for Your New Kit
Once you have a plane, a saw, a chisel and a square, build a bench hook. It takes an hour, uses offcuts, and immediately makes sawing safer and more accurate. Then make a mallet, or a simple wall shelf. The point is not to own tools; it is to use them.
A second-hand kit will never look like a catalogue photograph, and that is fine. A few evenings of cleaning and sharpening will turn rusty finds into tools that earn their place. Keep them dry, keep them sharp and buy more only when a real job demands it. The best tool kit is the one you understand.